Volvo S60 Restoration
Long-term restoration of a Volvo S60 — diagnosing failures, sourcing parts, and bringing it back to factory quality and then some.
What I started with
This lovely sports saloon first came into my family about 7 years ago when an elderly gentleman out of Arbutus ridge decided to sell it to us for 3 grand.
Absolute steal!
This car gave us so many reliable years. But as an old sports car, some things started to go.
Tie rods, ball joints, engine mounts. The repair bills and even just part costs were getting to me.
That's when I learned about the joy that comes in doing it myself.
Me and my dad had to do the rear shock absorbers, took us less than 4 hours.
It no longer felt like my rear suspension was going to exit through the rear arches when I went over a bump!
Past old quirks in terms of ride quality, the engine needed some tune up with all the miles I was racking up.
Someone was helping me top up oil (I was seeping more and more) and overfilled it a bit.
This was a recipe for an exacerbated leak.
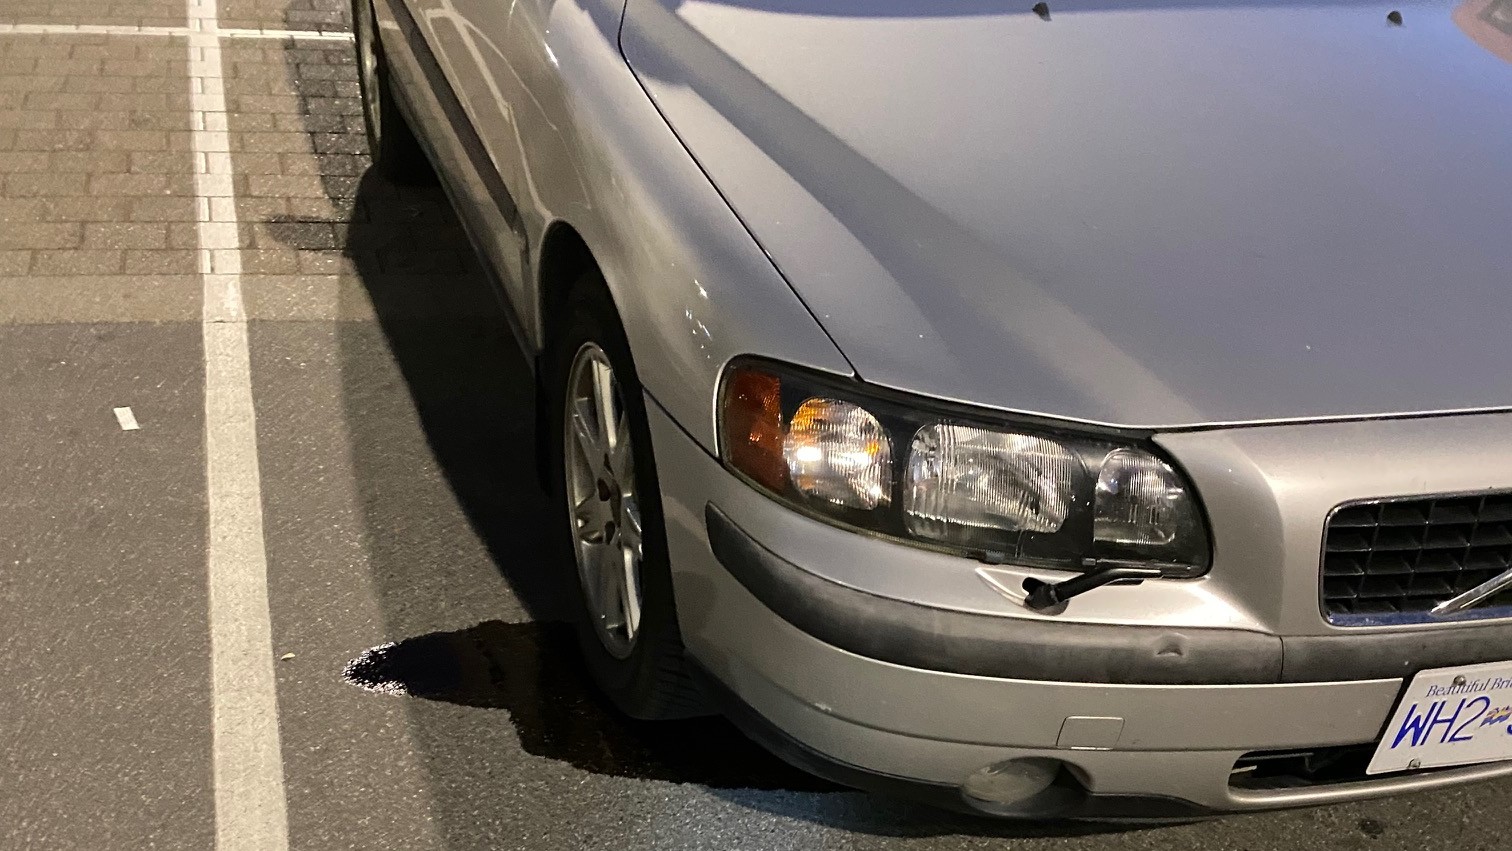
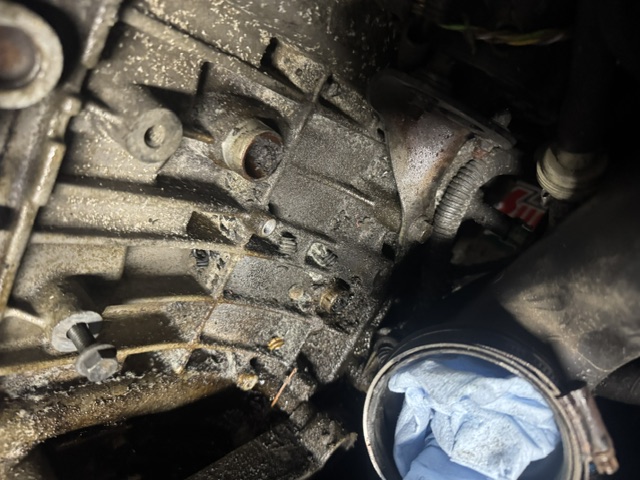
Upon further exploration, somewhere around the timing components was a major leaking point.
Process
Went for a checkup at a trusted Volvo mechanics shop in Victoria a little bit before this to smoke test and look over some things.
The first thing the mechanic told me when he saw me is to "just get rid of it"
I asked for a little run down. He told me that's because of the oil leaks (camshaft seals commonly go), suspension, motor mounts collapsing, and rust starting on the strut towers.
Their advice to me was to sell it cheap with an emphasis on the nice wheels and tires.
I couldn't take that seriously.
I ordered some motor mounts.
The car ran marginally better with some of the motor mounts replaced.
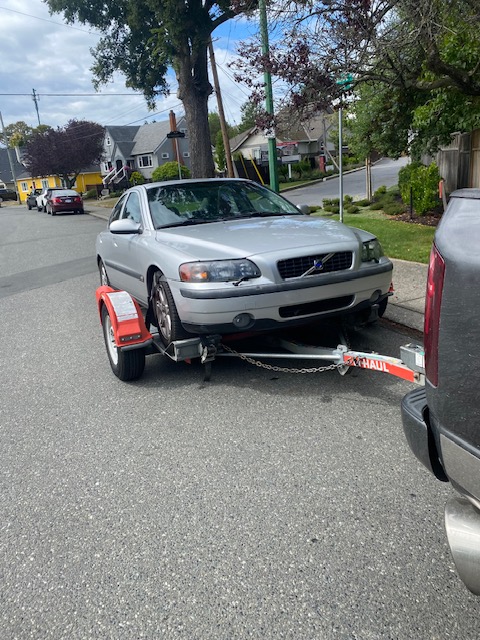
Ok... it "blew up" as previously mentioned. I didn't flinch.
Got it back to my hometown and started wrenching.
It didn't take me long to get the airbox, electronics, and top engine mount off to access the rear of the camshafts.
This allowed me to lock the camshafts to allow proper alignment in engine timing when I went to put things back together.
I will admit I ended up finding this project very difficult.
Not only did I have to source these expensive OEM parts but I had to brace for the hurtful shipping costs from the United States.
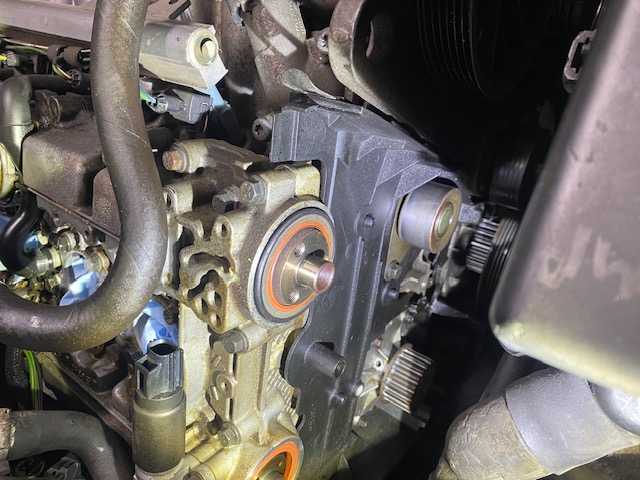
I 3D printed a camshaft seal installation tool to evenly press in the outer diameter of the seal (a 30 mm socket worked well for the rear camshaft seals)
Upon discussion with the community, the mechanic I went to lied that my PCV was fine. I definitely needed to service my PCV.
That stressed me out but I bit the bullet and ordered the parts.
Was I glad that I did.
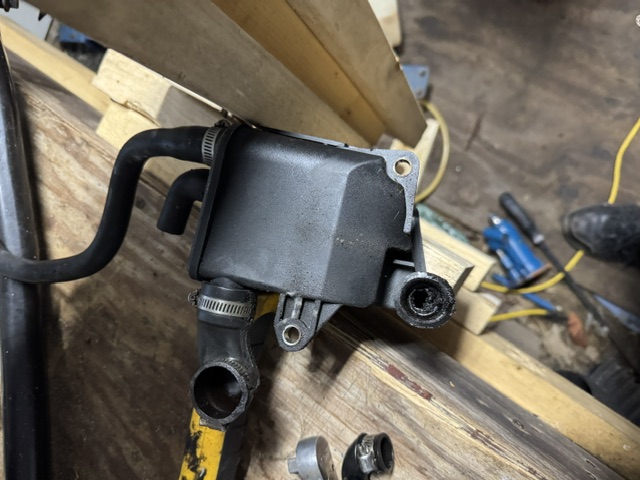
The old aftermarket unit was blocked with an unruly amount of carbon!
After installing a fresh OEM/Genuine PCV kit from FCP Euro. It was ready to fire this thing up.
To my dismay it was leaking...
Sometime during installing the new VVT hub seal it got crushed in. Definitely not at the initial install since everything was seated nicely.
Took a day to tear back into it and replace that seal. It was all good now (kinda).
Got it out of the quonset I was working in and started having noticing a rough idle.
I was super glad the vacuum leak wasn't from my intake manifold, I felt around and my suspicion was correct. It was the throttle body mounted underneath my intake manifold.
With enough patience and dexterity, I got the pipe to the throttle body clamped down nicely by reorienting the clamp and taking my time with a driver to the clamp.
After a bit of driving another problem was coming up.
A timing correlated code.
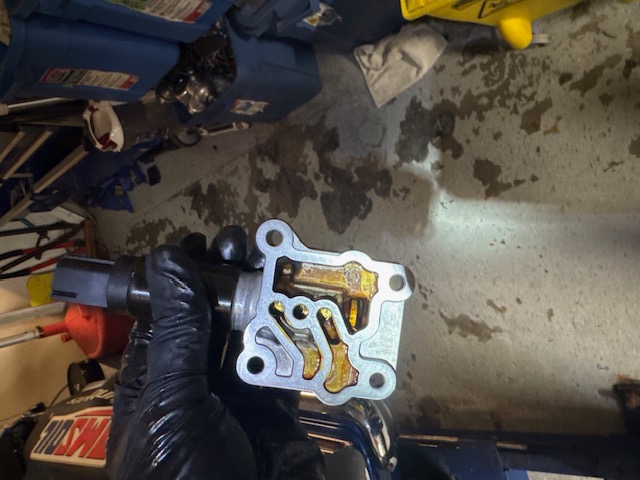
So I rebuilt my injectors and cleaned my VVT solenoid. Still running rough when hot.

So many possibilities popped up:
- Was my timing belt slipping? (very bad news)
- Did my VVT hub fail when the engine was starved of oil? (~$500 dollars for a new hub)
- Why didn't I feel some kind of spring movement on the VVT hub (my dad told me to not worry about it).
My dad could see I was distressed about this.
So we tore into it.
The VVT hub is spring loaded. So, we had to lock the camshafts, take the timing belt off, and follow a spring setup step that was missed previously.
Then it was good! I've put over 5,000 km on the car since this fix.
What I learned
Volvo's are delightful cars. Old and new, I've experienced them to handle well, run reliably, and have top tier safety features.
That being said, they require stringent maintenance. Due to my city driving habits during the week I'm switching my oil change intervals to every 5,000-6,000 km.
Making sure that the engine has good lubrication and is being checked over frequently is very important on these old Volvos.
Also staying on top of things is the way to go. For example, rust on the strut towers. Further down the line when it genuinely rusts through I'm going to have issues.
Now that I've got it running, I'm in contact with a guy who will take that project and keep my car on the road for years to come.